Digital photography compression has never been more important. The majority of online traffic is moving to mobile devices which presents a new and interesting challenge.
Despite mobile networks getting faster with 3G, 4G and now even 5G coverage, bulky data-intensive web pages are not user-friendly.
Users demand responsive content so you need to ensure that any website photography and videos are optimised. Photography needs to be compressed to the point where images load quickly and retain reasonable quality. This is a simple sliding scale: smaller file size = faster loading time but at the cost of visual quality while larger file size = slower loading time but better visual quality.

You want your images to sit somewhere in the middle. How do you achieve that? Read on to find out more…
Photography Designed for Google
While thinking about the content and filesize of a webpage, you also need to keep in mind how that webpage is found. Google assesses your site by analysing its content but it can’t interpret photography. Google and other search engines need text to properly analyse a page.
Google ranks faster websites higher. For a fast site, it is essential to be on good hosting but it is also necessary to monitor the total size of the page. Keeping page file sizes as small as possible without being detrimental to the content is key. Having lots of photographs can increase the size of the page but also increases its visual appeal.
What industry are you in?
Industries that are focused on glossy visuals – fashion, design studios, architects etc – will have to be extra careful when applying photography compression. Their audience expects higher quality production and as such might tend to notice badly or overly compressed images.
A picture tells a thousand words
First, take into account the page size – how much content is on the page and how heavily does it need optimising? You can quickly cut megabytes off the size of a webpage by uploading your images at the correct resolution.
The average screen resolution for desktop computers is 1024×768 however it is a good idea to work to the HDTV standard of 1920x1080px for very high-resolution photography.
You can find out the exact screen resolutions of visitors to your website if you use Google Analytics. Create a report by clicking on Audience > Technology > Browser & OS, this will display a browser usage report. In the Primary Dimension section which is under the graph and above the table click Screen Resolutions. You will now see the screen resolution of the people visiting your website. It’s worthwhile reviewing the Behaviour columns to see what users on certain screen resolutions do. This will highlight screen resolutions where visitors view fewer pages, have a higher bounce rate or spend less time on the site. If there are areas of concern you can check how your website photography looks on specific screen resolutions to see if improvements could be made.
Images higher than 1920×1080 will increase file sizes despite heavy compression. All images should be optimised for the size they are going to appear on the page. If your site width is set to 1100px, any images designed to fit in that space should be no larger than 1100px and so on.
Image format
It is a good idea to have an understanding of these three key formats for photography on the web.
JPG: best format for photographs. No transparency. Compresses well.
PNG: ideal format for using transparency within images, good for simple logos, icons and graphics.
GIF: the only format to offer animation, also good for icons and very basic graphics
How to Save Photographs for Web
Compression becomes noticeable quickest in areas with gradients that have little to no texture (clear skies, freshly painted walls) or around hard edges of detail (trees against a clear sky, people’s eyes and hair). Compression should ideally be applied while checking the details for each image. Overly compressed or down-scaled images can spoil the user experience. Below is a 1100px example showing before and after heavy image compression:
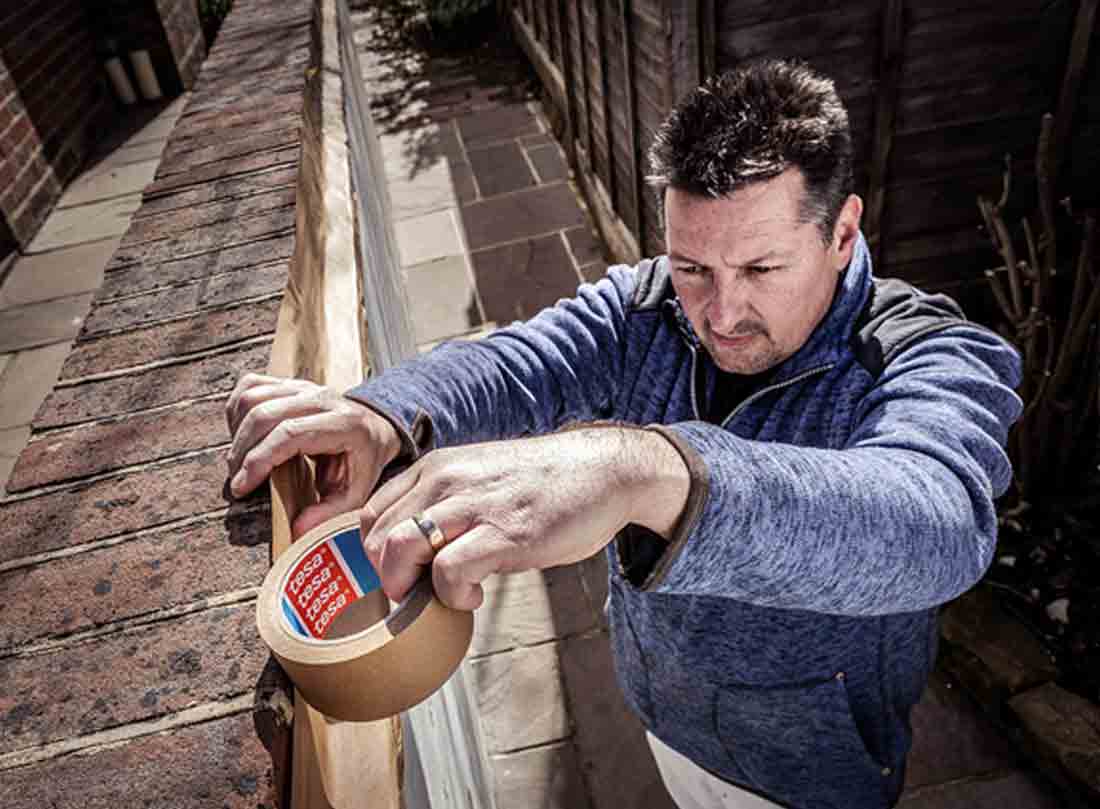
The uncompressed image in TIFF format is 2.5MB. It produces a JPG at 100 quality of 738KB but with reasonable compression (around 40 quality) we can create a copy indistinguishable from the original at just 165KB. The heavily compressed JPG on the right is 55KB in size but it is not of acceptable quality. This image has been created to show what to avoid when applying compression to your images. Pay close attention to the back wall, the detail on the sofa and the carpet – you can see pixelating, digital noise and lack of detail in the compressed version.
When resizing images ensure you maintain the aspect ratio. This means scaling the image proportionally so you don’t shrink one side more than the other.
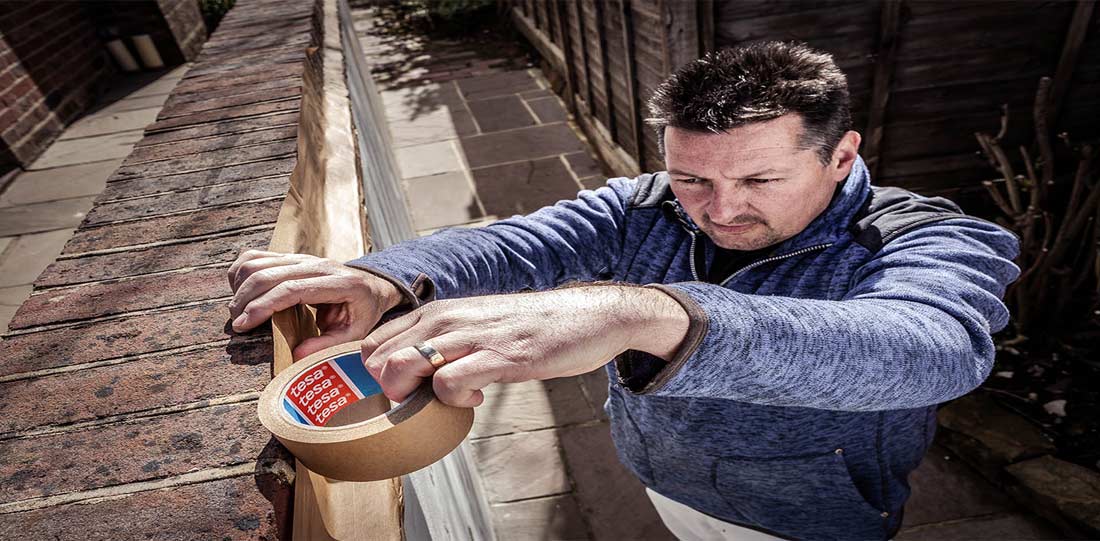
This image has been scaled down but it is now too short in height compared to the width
Ways to Compress Photographs
There are numerous online compression tools, both free and paid for but it is best practice to use a piece of software rather than an automated process. There are also various plugins for WordPress which can optimise your images as you upload them.
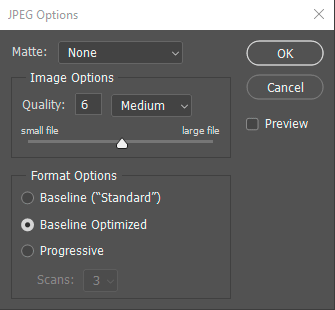
However, for maximum control over the results, Adobe Photoshop is the best piece of software for image compression. Photoshop’s Save As (File > Save As > JPG) can compress JPGs but it does not have the ability to re-size the image at the same time:
The better option is Photoshop’s Save For Web (which is the preferred Legacy process over the newer ‘Save for Devices’), the go-to exporter for compressing images. In Photoshop, click File > Export > Save For Web to create compressed images. Here are the basic settings:
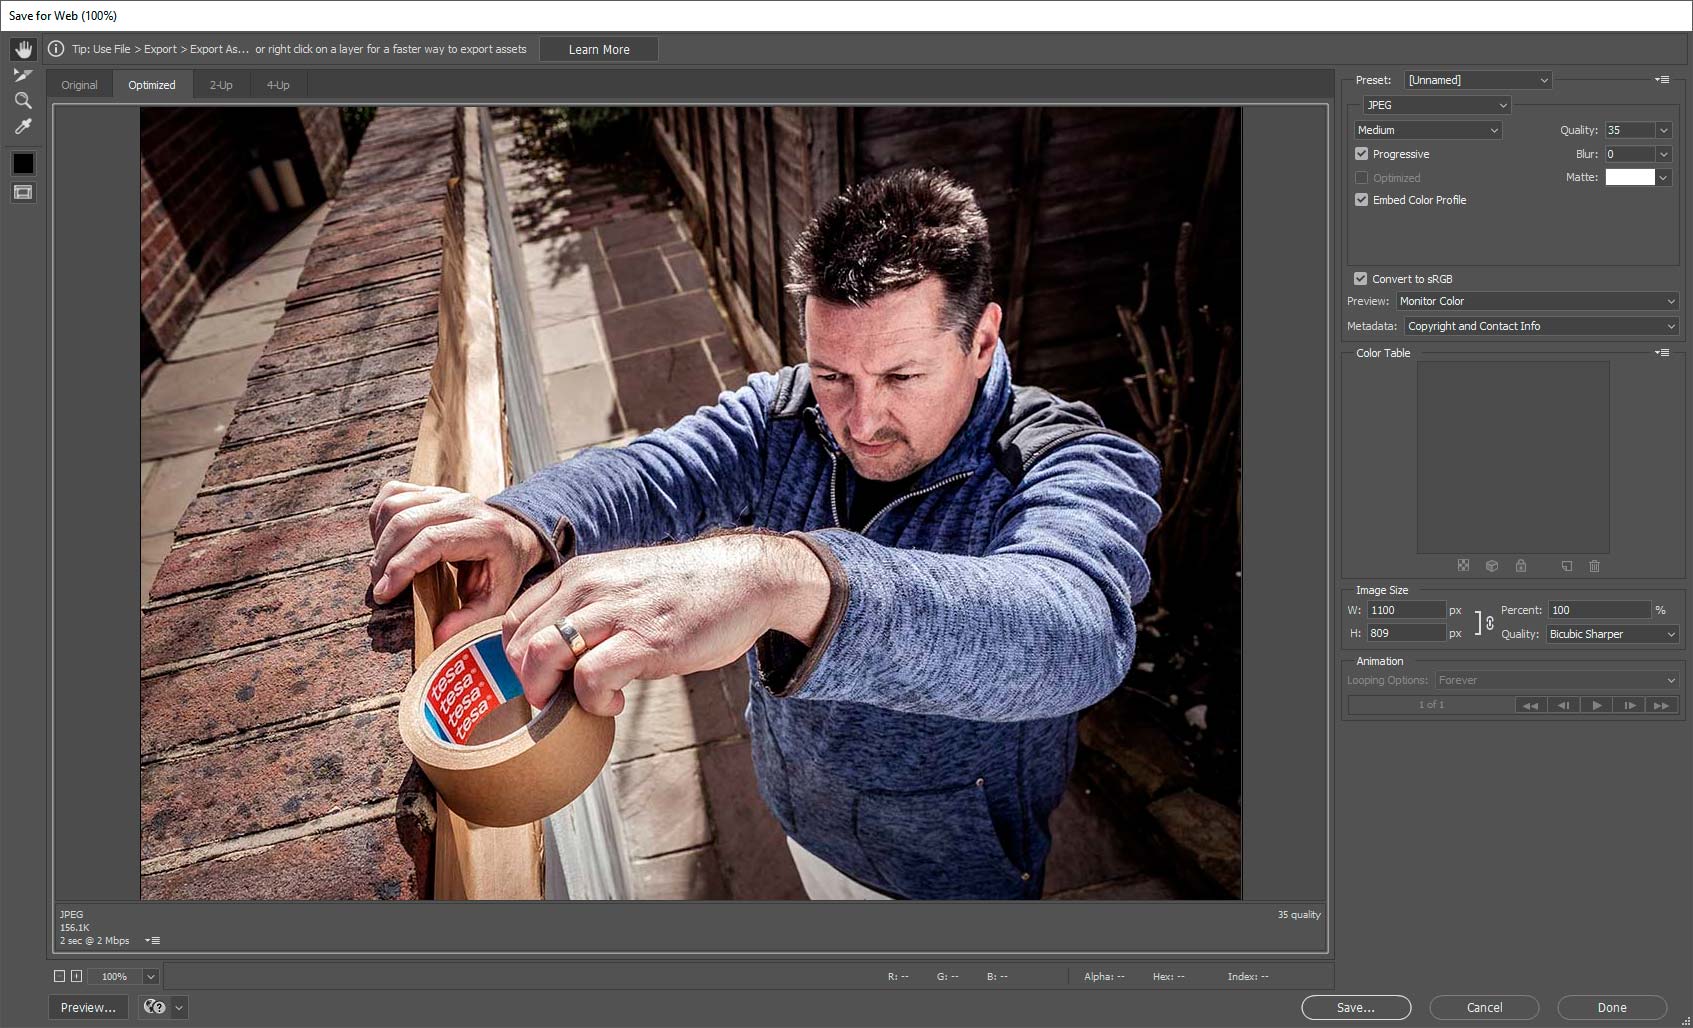
Click image to view in high resolution
You can set the resolution you need as well as the desired level of compression. Sadly, there is no single setting that will work for all images, you need to get up close to decide the required level of compression based on your final piece. Do not despair if the images you are saving have drastically different file sizes after re-sizing and compressing. Images with minimal content (Low Detail) will be able to compress to a smaller file-size than images with a lot of content (High Detail).
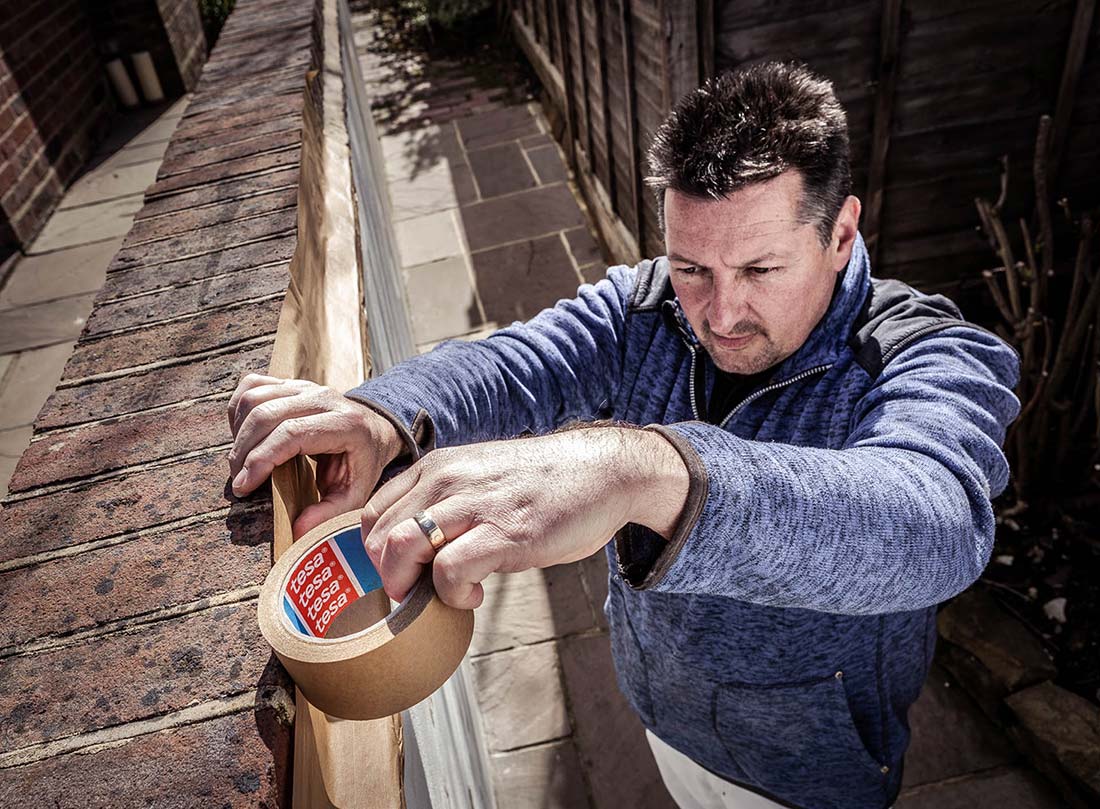
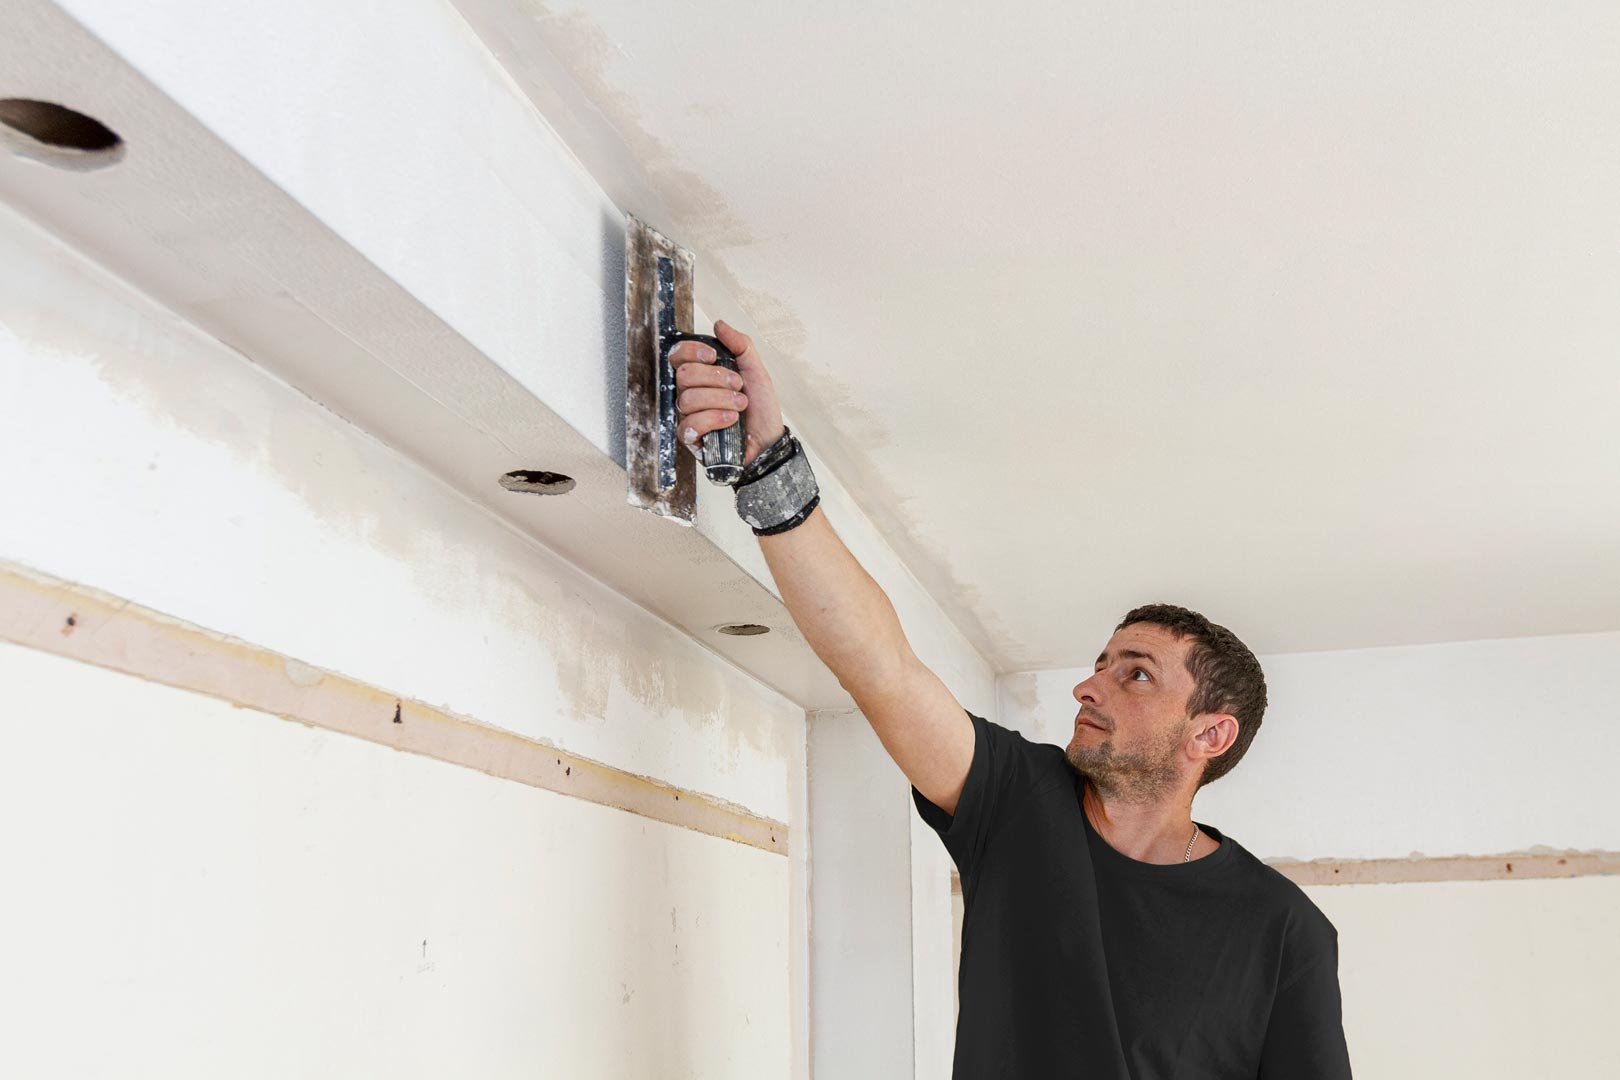
Consider the examples below – both were saved at 1100px wide at 35 quality. The Low Detail image on the left is 89KB whereas the High Detail image on the right is over 2.5 times that at 232KB.
Getting your Photos Online
When uploading images, give your photographs a descriptive name, avoid file names like: 15123-photo.jpg.
A picture with a name such as Oak_frame_extension_Surrey.jpg is much more meaningful and Google will index it based on this text. Remember to fill in the «Alt text» field with a short text description of your image so Google and other search engines can analyse the content.
Consider enabling GZIP compression for your website. This can reduce the size of the transfer responses rate significantly. This decreases the time taken to download resources which reduces data usage for the client and reduces the time it takes to display the page.
E-commerce Photography
For products, good photography is key to turning browsers into buyers.
Google reported that 40% of consumers will leave a page that takes longer than three seconds to load. They also stated that 79% of shoppers who were dissatisfied with website performance are unlikely to purchase from that site again.
The photographs need to be clear to allow visitors to properly assess a product. Having images which are clickable and can be zoomed to see the detail can help. Ensure you have all the angles covered so the product can be seen from the front, back, sides, top and bottom – whatever is important for what you are selling.
See examples of product photography which have been optimised for the web.


